Field Module – End of 2nd Year PDP
Posted: June 2, 2015 Filed under: Field, Level 5 Field, Morocco, Synergies Leave a commentSecond year’s Field module is far more ‘busier’ than first year. We are able to choose subject that correlates and support our discipline. The subjects I chose are Synergies between Materials and Technology in term 1 and Global Collaboration – Morocco for term 2. Through out term 1, I feel that the knowledge I gained from the module has changed the way I think of materials and technology especially in implementation of mix media in my illustration. The trip to Morocco has also informed me greatly with use of colour, decoration/pattern and techniques as well as culture influences.
For Dyffyn house – Story room project, I applied the principles of Synergies between material & technology in the work. My subject matter is fashion style of one of Cory family member (Florence Cory) who owned the house before it was taken over by National Trust. I created a 2D mix media work – watercolour and thread. I think that use of thread enhanced the idea or value that I am trying to communicate through the work. Choosing the colour of thread & drawing are also important so that the work speaks and translates the fashion style of that period (Edwardian era). Upon request by the National Trust who are now runs the house & garden, my piece will be displayed as a feature in Florence Cory’s room permanently.
I’ve also used the principles of synergies in my subject module – charity project – stitch workshop. The charity theme is to End FGM (Female Genital Mutilation) in the UK in cooperation with local charity (Bawso). Bawso requested me to formulate an art-base workshop that encourage the involvement of the victims of violence. Considering the delicate matter of the subject, I’ve decided to set up a stitch workshop called Letter to Mother. I believe that stitch is one of the simplest art form that can be use in expressing feelings and emotions or memories into words or images. Stitch also has a down to earth value but not less expressive compare to other art forms such as drawing/painting or photography. The project has also involved general public in support for the victims of violence. Their involvement is also in a form of stitch (to be made into a quilt and a book) – Leave a Legacy Stitch book. Participants sent positive messages in support of the victims. The feedback I received from general public involved was that because it’s a stitch work, they feel that it’s quite easy to achieve and they can do it whenever, wherever.
Because I felt that my skill in stitching & embroidery are very basic, I decided to take up the Wednesdays stitch workshop by Maggie Cullinane from Textile course. I also took a stitch workshop with a Textile artist – Tilleke Schwarz organised by Textile course in order to enhance my stitch & embroidery technique. I certainly have gained so much knowledge and skill which I can apply in and outside university projects.
I feel that stitch & embroidery has become the main medium of my illustration. I would like to experiment a lot more in the summer toward my third year. I would like to play more on different thread and fabric, colour combination, techniques and dimensions which thread can offer.
Reflection Field – Term 1
Posted: December 15, 2014 Filed under: Field, Level 5 Field, Synergies Leave a commentThe reason I chose the Synergy between Materials and Technology is because I want to explore the relationship between my visual language with material & technology. A best and effective Illustration is when it speaks to the viewers. It tells them a narrative, brings life to an idea or concept visually, it contains a message, transfers information and offers a visual addition to a text. It also must be able to present the object in an interesting and engaging manner. It needs to be able to demonstrate the art technique to make the viewer experience what the artist wants them to experience. This field option has helped me in understanding material as metaphor as well as the production process of creating my visual language into three-dimensional object through variety of workshops.
We started the course with Litophane workshop. Originally from China, the technique uses stone or rock and panel of porcelain to create a ‘secret image’. The secret image is visible when lit up by light in the background. Nowadays, artists use wax; plaster mould and white polymer (HIPS) combined with the use of technology called 3D CNC Router (Computer Numerical Control). I believe the material can be shaped into form or even by adding some colour onto it as well. I’d be interesting to apply this technique to create a puppet show or diorama. The second workshop was the Slipware. Slipware creates possibilities of transferring images, stencil, applying colour and graphic line to create narrative as well as presenting it in form and shape. In the wirework workshop, I learned that it is suitable for artists such as illustrators who use line/graphic drawing in their artwork. The wirework gives possibilities and flexibility in transforming the line drawing into 3D. At the 2.5D CNC milling machine, I was introduced to operate the software that uses line drawing to create the object (Rhinoceros). On the Pewter Casting workshop, I found that the process technique is quite similar to woodcut but the image/design is created on plaster as a mould, which then liquid metal is poured into it. It is great for making jewellery when combined with wirework. The 3D printing with open source technology is great because it has changed my way in production process and how I use material. The last workshop was Augmented Reality. AR is a good way of linking digital object and physical object and it’s a bridge between reality & virtual world.
I’m looking forward to the production process of my design plan for the field outcome. The subject matter is a life story of Florence Cory of Dyffryn from Cory family (well-known family in coal mining and shipping business in South Wales). I will be combining the slipware, 3D printing and augmented reality techniques. I really hope that 3D outcome can help enhance the narrative and invite the viewers to experience Florence Cory’s world. The production process can influence the form and design as well as the materials I choose can also give atmosphere to the artwork.
Augmented Reality (AR)
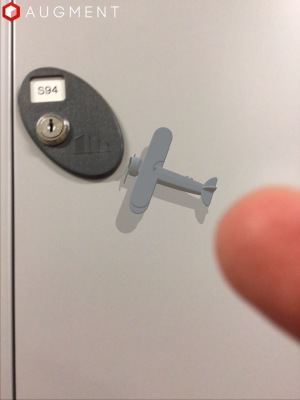
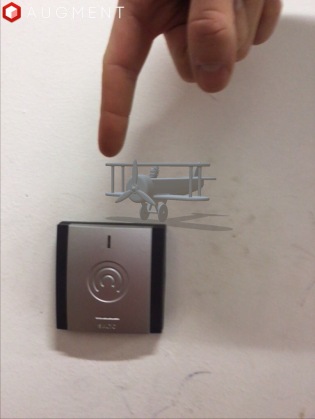
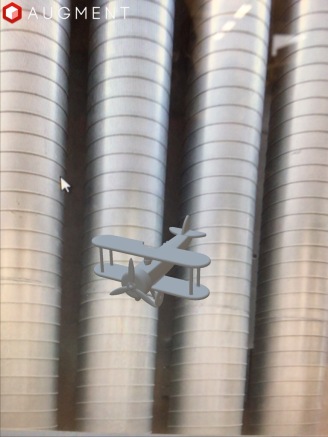
Posted: December 14, 2014 Filed under: Field, Level 5 Field, Synergies | Tags: Augmented Reality Leave a commentIt was a very interesting day. Its my first time introduced with augmented reality technology. We’re using Augmented Reality app & Aurasma app. AR is a good way of linking digital object and physical object and it’s a bridge between reality & virtual world. The 3D image is a mashed up between my previous 3D head scan and another 3D object. It was mashed up using Mesh Mixer software.
AR is great to create an interactive art, e.g. for exhibition or in education and advertising.
examples bellow:
The future of AR from Pranav Mistry on TED Talk:
3D Printing
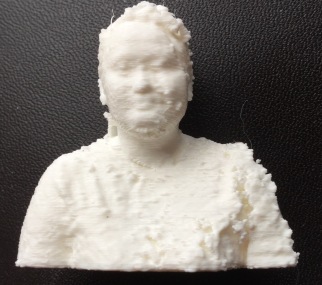
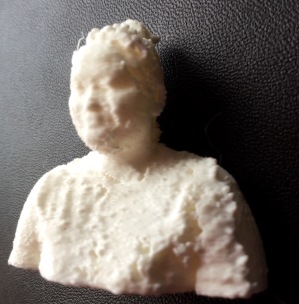
Posted: December 10, 2014 Filed under: Field, Level 5 Field, Synergies | Tags: 3D printing Leave a commentThe software we are using is Cubify Sense, 123D Catch, MeshMixer and MakerBot. It need getting use to in oder to operate the softwares. The scanning process can be done to any object with a scanner or with 123D catch app.
The open source technology is great because:
– It can conceive ideas (how we think)
– It can influence form giving process
– It can change how we use material
– It can change the production process
– and It can change our perception of an object
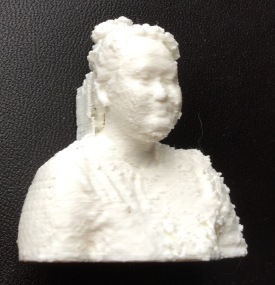
Here’s a 3D mini me.
Pewter Casting
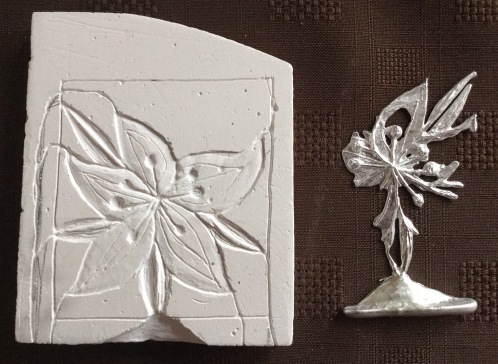
Posted: November 28, 2014 Filed under: Field, Level 5 Field, Synergies | Tags: Pewter Casting Leave a commentThe process technique is quite similar to wood print but the image/design is created on plaster as a mould, which then liquid metal is poured into it.
My first experiment didn’t come out as I wanted but I kind of like it because it looks like a flower “trophy”.
Image transfer or printing onto variety of material
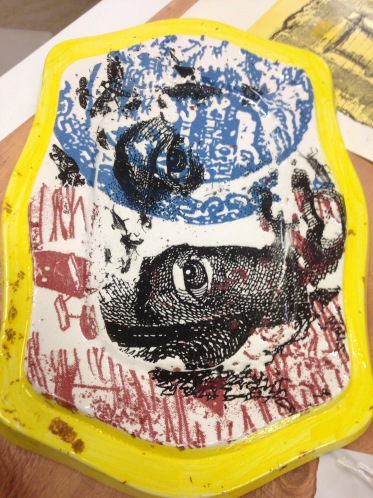
Posted: November 28, 2014 Filed under: Field, Level 5 Field, Synergies Leave a commentThere’re different approaches to print or transfer an image onto various material. The ink for the printing should be oil based ink. Onglaze enamels usually used in printing image onto ceramic material. We can also use digital printer to print the image onto material such as ceramic tile.
Print outcome sometime depends on what materials and experiment that come up with instead of based on certain image. Therefore, process decide what the outcome would look like.
2.5D Software Induction for Laser Cut
Posted: November 28, 2014 Filed under: Field, Level 5 Field, Synergies | Tags: 2.5D Leave a comment
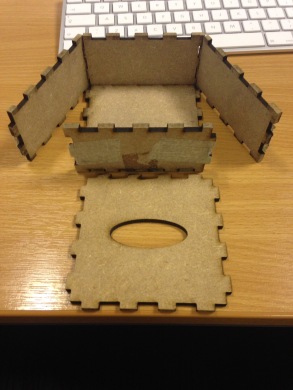
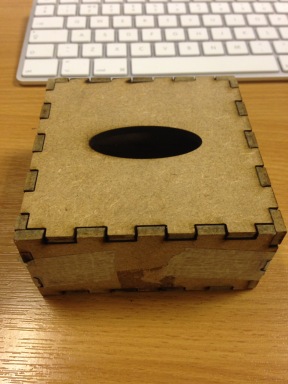
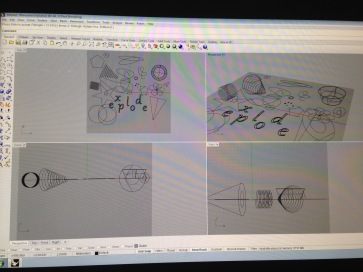
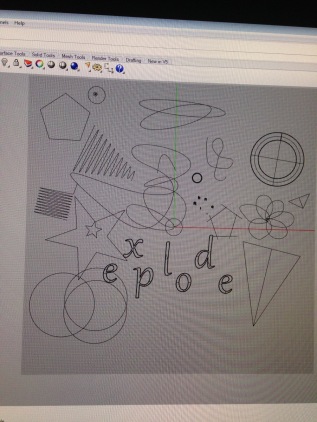
I’ve always wanted to make an image using laser cut. The induction started by making us familiar in using the 2.5D CNC milling machine. The image its required could be of line drawing made with Adobe Illustrator or Rhino software. The file should be save on .DXF file and to be imported to Artcam for large CNC depth or to be imported to Corel Draw for 3D laser cut.
Wirework
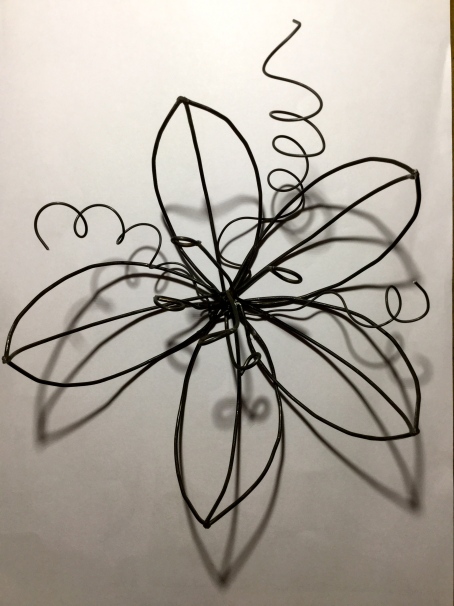
Posted: November 28, 2014 Filed under: Field, Level 5 Field, Synergies | Tags: wirework Leave a commentWirework is suitable for artists who like line drawing and transforming it onto a 3D form. The suitable wire should be copper wire with 1.6mm thick. I’ve made a flower form using the wire work.
The wire can only be painted with spray paint and it can be mounted on wood or any surface.
Slipware
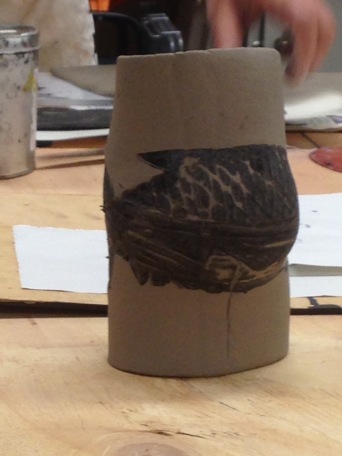
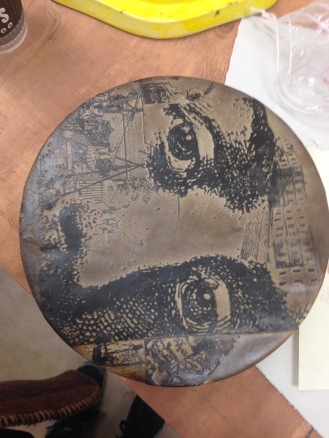
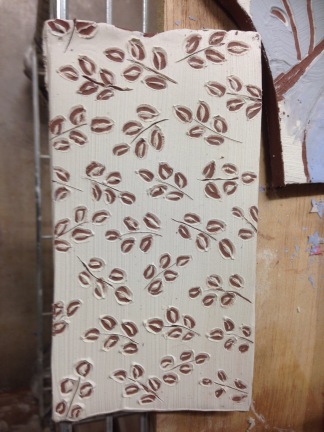
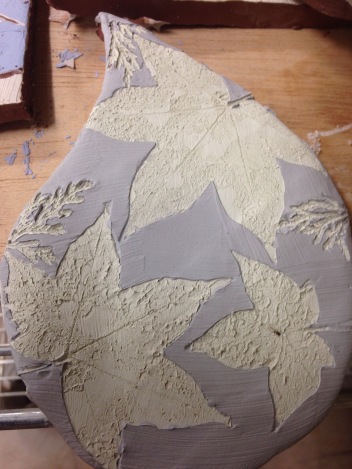
Posted: November 28, 2014 Filed under: Field, Level 5 Field, Synergies | Tags: Slipware Leave a commentThis is my first experimentation with slipware. These are before it goes into the oven. Slipware creates possibilities of transferring images, stencil, applying colour and graphic line to create narrative as well as presenting it in form and shape.
Litophanes
Posted: November 23, 2014 Filed under: Field, Level 5 Field, Synergies | Tags: Lithophane Leave a commentLITHOPHANES
Originally from China, the technique uses stone or rock and panel of porcelain to create a ‘secret image’. The secret image is visible when lit up by light in the background. Nowadays, artists use wax, plaster mould and white polymer (HIPS) combined with the use of technology called 3D CNC Router (Computer Numerical Control).
Hannah Blackwell use wax as her material in creating the ‘secret image’ with lithophane.
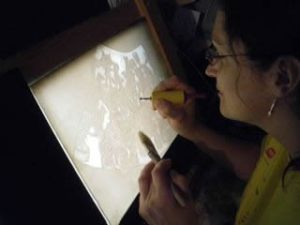
Hannah Blackwell – wax lithophane -http://www.ceramichistorian.com/hannahblackwell/hannah2.jpg – date 23/11/2014
Experiment 1
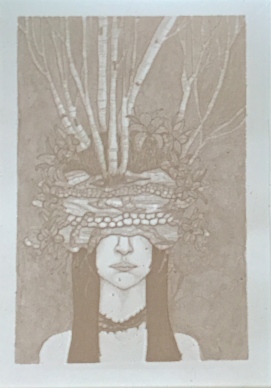
Master file image must be in .jpg. The file then is transferred onto 3D CNC Router. I used an image I made for one of my applying visual language practice.
Here’s my video of my image inside the 3D CNC in progress:
Here’s the result:
I believe the material is adjustable into different shape or form or even by adding some colour onto it as well. I’d be interesting to apply this technique to create a puppet show or diorama.

